Digital Tutors - Understanding the Surface Modeling Tools in SOLIDWORKS


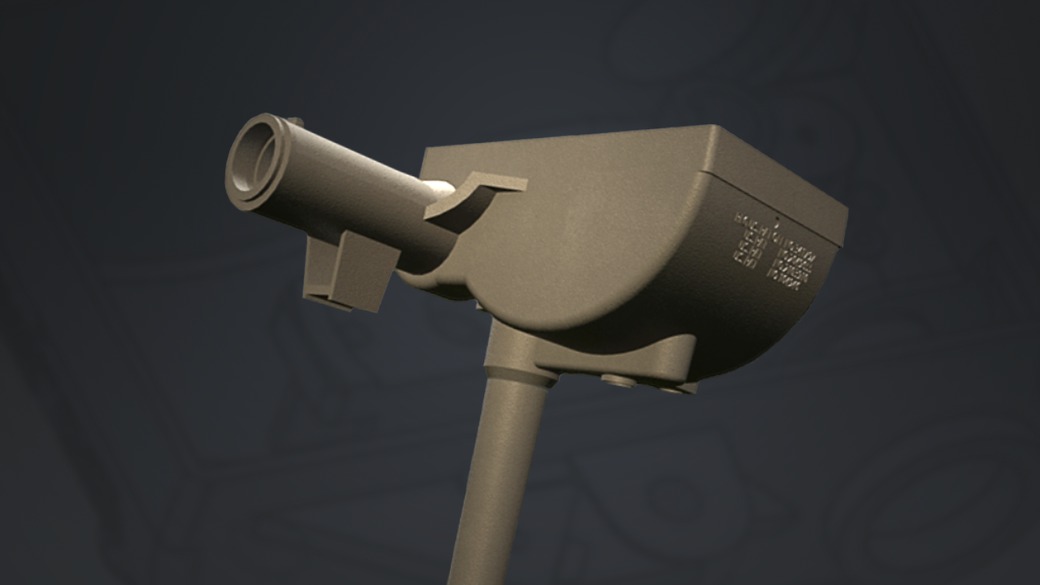
In this SOLIDWORKS tutorial, we’ll learn how to utilize surface modeling tools. We’ll start by jumping right into our first surfacing tool, the extruded surface. We’ll then look at the planar surface tool to cap the ends of our housing and the revolved surface tool for the vertical shaft.
From there, we’ll use the surface trim tool to cut away the surfaces we don’t need and add some fillets before we knit them all together into a single surface body. After we apply the thicken tool we’ll finish the tutorial by looking at the other modeling techniques and cover some issues that may become apparent when using surfacing.
By the end of this SOLIDWORKS training, you’ll leave with a good understanding of the use of various surfacing tools along with the ability to compare these techniques to the more familiar solid modeling techniques so you can determine which one may be the better approach when working on your own designs.
821MB