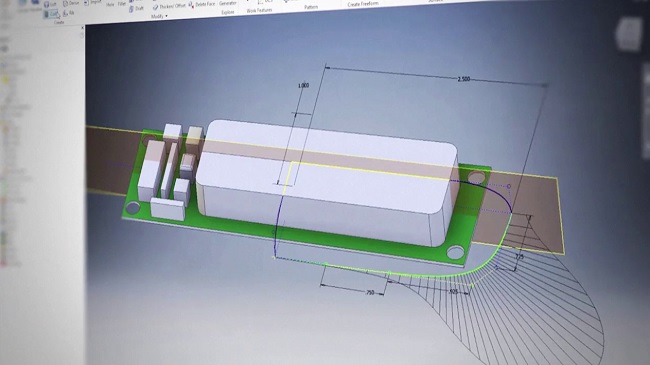
Getting Started with Inventor Surface Modeling
Learning how to use Autodesk Inventor for making surface models is a great skill to add to your repertoire. This course, Getting Started with Inventor Surface Modeling, will begin by discussing the difference between solids and surfaces in a CAD Software like Inventor.

Duration Project 1h 56m Files Included MP4
Once a foundation is laid, you will begin to explore sketching and various types of sketch curve inputs needed to accomplish your designs. You will be introduced to surface options inside of standard 3d model tools as well as surface specific tools such as Stitch, Patch, and Sculpt. Surfacing tools in 3d modeling can be very handy for a vast number of things and you will learn some common uses where surface and solid modeling work in conjunction together. You will first create Extrudes and Revolves before exploring generic shaped Sweeps and Lofts. These generic shapes will be used to explore patching, stitching, and sculpting. With generalities covered, you’ll move onto more concrete examples by modeling a plastic remote control housing. By the end of the course, you will feel comfortable exploring the surface tools options in Autodesk Inventor on their own parts. Software Required: Autodesk Inventor
302MB
Download
http://s9.alxa.net/001/2/Getting.Sta...e.Modeling.rar